Calling all DIY-ers on a budget! Do you want to give special personalized gifts without spending your whole paycheck? Yea, me too! Here's my idea that I will share with you. I recently made these adorable clipboards for each person on my first grade team for an end-of-the-year gift!
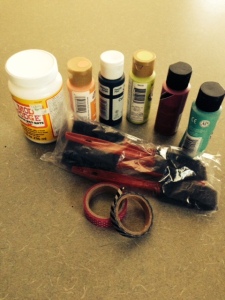
Step 1: I went to my local craft store (I prefer Hobby Lobby) and picked out scrapbook paper that I thought described each person on the first grade team (a couple sheets per person). I bought sponge brushes, modge podge, decorative tape, craft paint, and clipboards.
Side note** I used matte modge podge because I did not want the clipboard to have a shiny gloss.
Side note** I used matte modge podge because I did not want the clipboard to have a shiny gloss.
Step 2: Determine which paper you want for each clipboard,organize them with each clipboard, and brainstorm patterns in which you will cut and lay down.
Step 3: I painted the top section of each clipboard (front and back) in a color that would match the paper. One reason for this is so you do not have to cut your paper to fit around the clip part of the board.
Step 4: Once the paint dries, I put a piece of tape (you can also use ribbon) at the end of the paint line to make for a more clean line between paint and paper.
Step 5: Cut the paper in strips or in chunks in which you want to stick on the clipboard.
Step 6: Get a sponge brush and dip in the jar of mode podge and apply to the back of the scrapbook paper. Layer your paper as you wish.
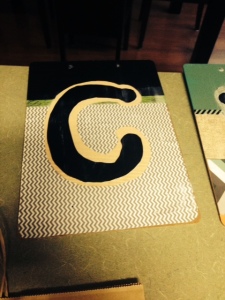
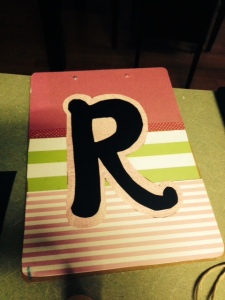
Step 7: If you wish to do a monogram of the person's first or last name, you may use a stencil or freehand the letter. I chose to freehand to get my desired style.
Step 8: Once all paper is stuck on with modge podge, I apply a final coat and generously cover all of my clipboard (front and back) with it to hold everything in place.
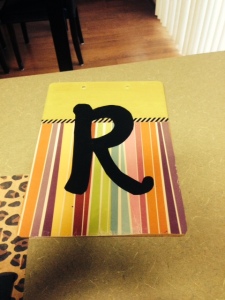
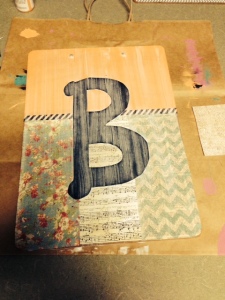
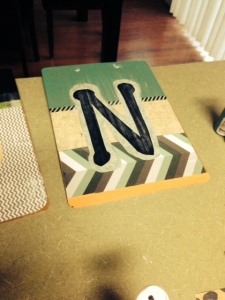
Here are some pictures to show you how my clipboards turned out. These are my "guinea pig" clipboards so they are by no means perfect, however, my friends still loved them :) Although the pictures only include the backs of the clipboards, I did do the front of them as well so the un-applealing brown side was not showing at all. My apologies for not having pictures for step-by-step instructions. I did not think of this until I was finished because I was having so much fun! Hope you enjoy!
P.S-Some pictures show streaks on the clipboard. I promise it does not dry like this, I was just eager to take the picture and share with all of you!
XOXO Kayla

No comments:
Post a Comment